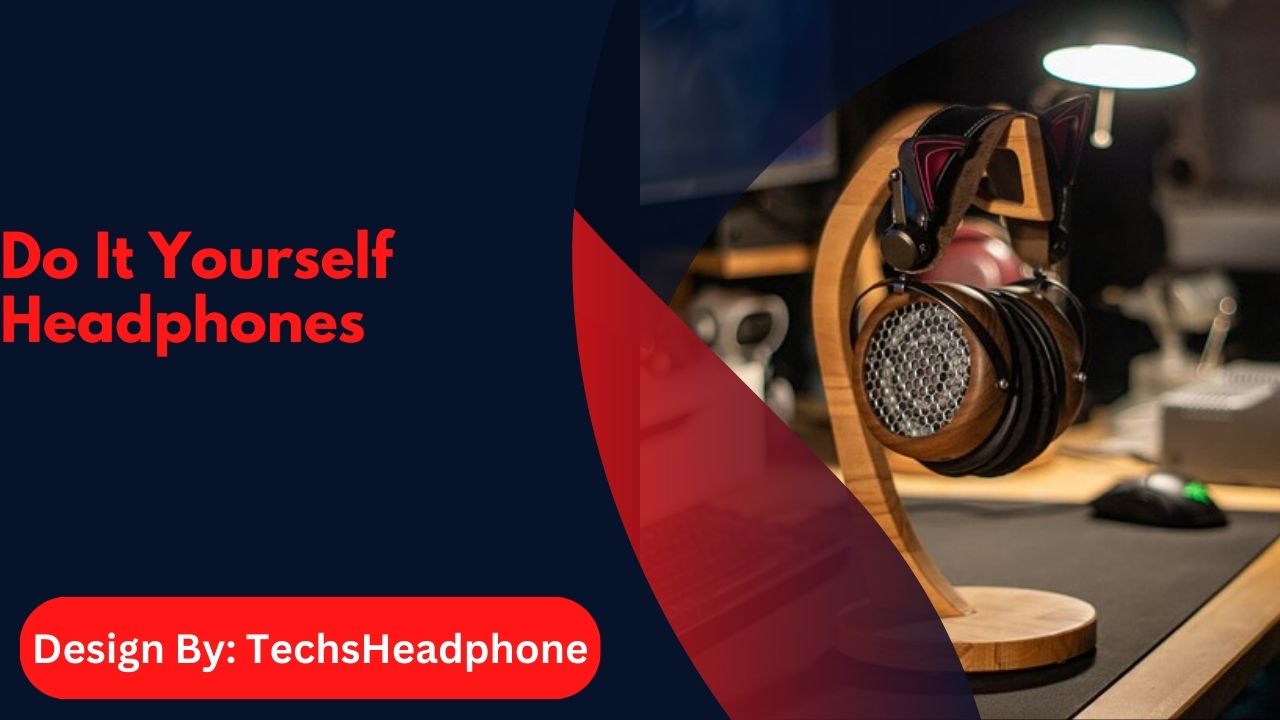
Creating DIY headphones offers customization and cost savings. With a kit, you assemble them by drilling, cutting, and assembling, troubleshooting for best results.
Introduction to DIY Headphones:
Making your own headphones can be a fun project. Choose good-quality speakers and parts for the best sound. You’ll need a design that’s comfortable, including materials for the ear pads and cups. Assembling them involves some basic soldering and careful work. When you’re done, you’ll have a custom pair of headphones just the way you like them.
In a world filled with mass-produced electronics, there’s something uniquely satisfying about crafting your own devices. DIY headphones offer not only the joy of creation but also the opportunity to customize the sound to your preference. Whether you’re an audiophile seeking a tailored audio experience or just someone who enjoys hands-on projects, building your own headphones can be a rewarding and educational journey.
DIY headphones are a creative way to customize sound quality and style, tailored to your preferences. With readily available kits and online tutorials, you can build unique headphones, experimenting with drivers, cables, and materials. This hands-on approach offers a deeper understanding of audio technology while saving costs. Plus, crafting your own headphones can be a rewarding hobby for audiophiles and makers alike.
DIY Headphones: An Easy Assembly
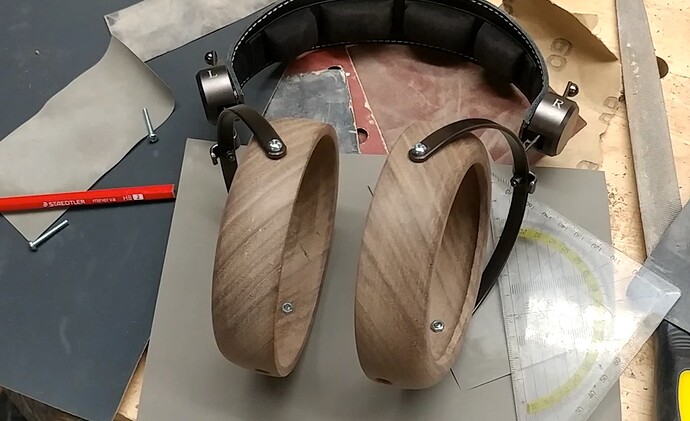
Creating your own headphones might sound daunting, but with the right tools and a DIY headphone kit, the process is straightforward and enjoyable. These kits come with all the necessary components, making it simple to assemble your headphones from scratch. Here’s a step-by-step guide to help you through the process.
Drilling a Hole:
The first step in assembling your DIY headphones involves drilling a hole in the headphone shell. This hole is where the wires will pass through, connecting the speakers to the audio jack.
- Select the Right Drill Bit: Choose a drill bit that matches the diameter of your wires. Too large, and the wires won’t stay secure; too small, and they won’t fit through.
- Mark the Spot: Use a marker to pinpoint where the hole should be drilled, typically at the bottom of the headphone shell for easy access.
- Drill with Care: Place the shell on a stable surface and drill slowly to avoid cracking the material. Once the hole is made, clean the edges with sandpaper to ensure no rough surfaces that could damage the wires.
Cleaning Up the Shell:
Before you start assembling the internal components, it’s crucial to clean up the headphone shell. This step ensures that no debris or sharp edges could interfere with the sound quality or damage the components.
- Wipe Down the Shell: Use a soft cloth or compressed air to remove any dust or particles from drilling.
- Smooth the Surface: If there are any rough edges, use fine-grit sandpaper to smooth them out. This not only makes the assembly easier but also ensures a professional finish.
Cutting to the Size:
Every headphone kit may require you to adjust the size of certain components to fit your specific shell. This step is where you’ll ensure that all parts align perfectly, offering both aesthetic appeal and optimal functionality.
- Measure Twice, Cut Once: Before making any cuts, measure the components against the shell to ensure the perfect fit.
- Use the Right Tools: Precision cutting tools like a small saw or a sharp knife work best. Be careful and precise to avoid damaging the components.
- Test Fit: After cutting, place the components in the shell to verify they fit correctly before moving on to the next step.
Disassembling Old Headphones:
If you’re recycling parts from old headphones, disassembling them carefully is essential. This step involves removing the speakers, wires, and other reusable components.
- Remove the Ear Pads: Start by gently prying off the ear pads to expose the internal components.
- Unscrew the Shell: Most headphones have small screws that hold the shell together. Use a precision screwdriver to remove these without stripping them.
- Extract the Components: Carefully remove the speakers and wires, noting how they were connected so you can replicate the wiring in your new DIY headphones.
Assembling New Headphones:
Now comes the fun part—putting everything together. Follow these steps to assemble your DIY headphones:
- Place the Speakers: Position the speakers inside the shell, ensuring they are secure and aligned correctly with the ear openings.
- Thread the Wires: Pass the wires through the holes you drilled earlier and connect them to the speakers and audio jack. Solder the connections if necessary for a secure bond.
- Secure the Shell: Once all components are in place, carefully screw the shell back together. Test the headphones to ensure everything is working correctly before closing them up completely.
Also read: Can Headphones Cause Balding – How to Protect Your Scalp!
Do It Yourself Headphones: Customizing Sound on a Budget:
One of the most appealing aspects of DIY headphones is the ability to customize the sound. By choosing different components such as speakers, drivers, and even the shell material, you can tailor the sound profile to your liking—whether you prefer deep bass, clear mids, or bright highs. This customization is often at a fraction of the cost of high-end commercial headphones.
Why Choose DIY Headphones:
Benefits of DIY Headphones:
- Customization: Tailor the sound and fit to your exact preferences.
- Cost-Effective: Create high-quality headphones for a fraction of the retail price.
- Educational: Learn about audio technology and electronics through hands-on experience.
- Satisfaction: Enjoy the unique pleasure of using something you built yourself.
Tips for DIY Headphone Builders:
- Start Simple: If you’re new to DIY electronics, start with a basic kit and gradually move to more complex builds.
- Research Components: Understanding the differences between various speakers and drivers can help you achieve your desired sound.
- Stay Patient: DIY projects can be challenging; take your time to ensure each step is completed correctly.
Troubleshooting Common Challenges in DIY Headphones:
Building your own headphones comes with its set of challenges. Here are some common issues and how to resolve them:
- No Sound: Double-check all connections, especially the solder joints. Ensure the wires are properly insulated and not shorting out.
- Distorted Sound: This could be due to loose components or improper sealing of the shell. Make sure everything is securely fitted and that the shell is airtight around the speakers.
- Comfort Issues: If the headphones don’t fit well, consider adding extra padding or adjusting the headband.
Enhancing Your Listening Experience with DIY Headphones:
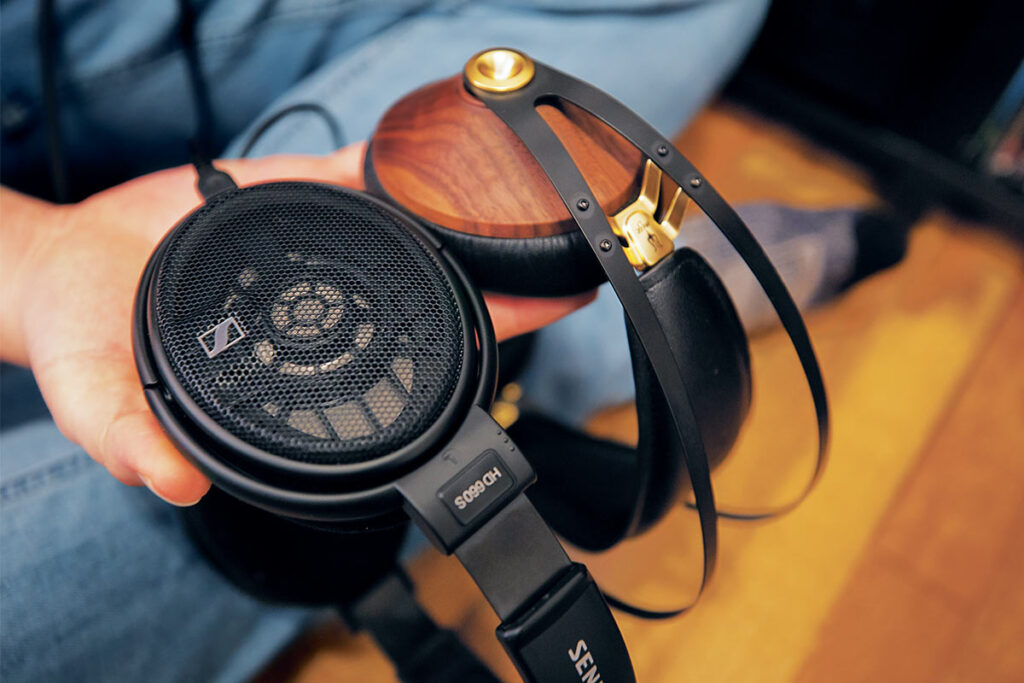
Once your DIY headphones are complete, there are a few additional steps you can take to enhance your listening experience:
- Experiment with EQ: Use an equalizer to fine-tune the sound to your preferences.
- Upgrade Components: As you get more comfortable with DIY builds, try swapping out components like the speakers or cables for higher-quality versions.
- Maintain Regularly: Keep your headphones in top condition by regularly cleaning them and checking for any loose connections.
FAQ’s:
1. What tools do I need for DIY headphones?
You’ll need a drill, precision screwdriver, cutting tools, and a DIY headphone kit with components.
2. How can I ensure my DIY headphones sound good?
Customize components like speakers and drivers to your preference and check all connections for secure fitting.
3. What should I do if my DIY headphones don’t produce sound?
Verify all connections are properly made and check for any short circuits or loose components.
4. Can I use parts from old headphones for my DIY project?
Yes, but carefully disassemble and inspect the parts to ensure they are in good condition and compatible.
5. How do I clean and maintain my DIY headphones?
Regularly clean the shell and check for any loose connections or damaged components to ensure longevity.
Conclusion:
Creating your own headphones is not just about saving money or learning a new skill—it’s about crafting a personalized audio experience that you can truly call your own. Whether you’re a seasoned DIY enthusiast or just starting out, the process of building DIY headphones is both challenging and rewarding. With the right tools, patience, and a bit of creativity, you’ll have a pair of headphones that deliver great sound and a sense of accomplishment.
